Showing posts with label 28 months. Show all posts

Thursday, July 22, 2010

Prepared environment in the kitchen

Children's independence is a continuous process and a Prepared Environment together with Practical Life activities, are essential to this.

Now that we have more certainty that we wont move to another country in the short term and have a green light to make physical changes to this house, we have again taken up our impulse to create an environment that supports Ian to “do for himself”.

We are planning ways to involve Ian in daily life activities while discovering what is suitable for our family. To that end, we have incorporated child-size furniture in the kitchen, the living-dining room and Ian’s bedroom. He is still getting used to all the changes and at the moment he’s only confortable with the prepared environment in the kitchen.

This is what we have done in the kitchen so far:
  • Made room in our kitchen for a child-sized table for eating snacks and cooking.
  • Allocate the bottom shelf in our refrigerator for Ian. Here we store his milk, yogurt and cheese.  


  • Mount a low shelf for all the items necessary for Ian to set his table and prepare his own snacks: fruits, cereal, crackers, glasses, pitcher, plates, napkins, forks, spoons, knife, a cutting board and a sponge to clean the spills.

Here are some pictures of Ian in the business of making his snacks.

Serving his yogurt and cereal


Cutting cheese


Serving his milk. Oop! :-)


Getting water


Setting his table. This is something we are working on. I have to remind Ian what things to put on his table and mostly I have to help him to complete this task. Actually, he is not very interested in it yet.


Preparing a cup of coffee :-) just for fun and a good practice of spooning, measuring milk powder, sugar and decaffeinated coffee, stirring, tasting every ingredient and observing how color and flavor changes. A bit of practical life, sensorial, science and math ;-)


Monday, July 19, 2010

Discovering our new house

Last week we moved to another house - at least we didn't move to another country :-). This is our third move this year. Although moving is part of our lives, I always get stressed and so does Ian of course.
As you can imagine, I could not prepare any material for Ian. I trusted him (or begged him, to tell the true) to find something interesting to do just exploring the house.

We have a big outdoor area, there are trees of mangos, avocados, coconuts and lychees. He found the lychees interesting and that gave us a great opportunity to have fun and learn.

We picked up lychees and put them in a glass basket. Ian carried it gracefully - even when he was descending stairs - to the border of a tree that he chose as his “work bench”. There, he peeled all the lychees. I broke a bit of the shell of them first. He put the shells in a fun car-basket and the fruit core in a bowl. Then he enjoyed discovering the new flavor of the lychees - and so did I.


After our delicious snack, we used the lychee shells to learn how to transfer water using a ladle and how to pass the shells using a small sieve and a big sieve.

First,  we filled a bowl with water and Ian carried it very slowly watching not to spill the water.


Then Ian poured the shells into the bowl and we were ready for the lesson. I have to say that I was very happy because I’d been looking for something that floats to set up this activity for a long time.

Although the ladle was not child-size, Ian grasped it correctly and twisted his wrist to pour the water on the sieve. Well, he did so until he discovered it was easier if he used both hands to twist the ladle. I tried to correct him but he just said “chau” (bye in Spanish) that means “let me do it by myself”. I got the message and left him to have fun. After he got the sieve full he poured the shells and the water back to other bowl and started again.


When he got bored I gave him a bigger sieve and he had to pour the water from the bowl. As it was big and a bit heavy he had to control his movements so as not to spill the water.


Next day we gathered some flowers, leaves, mangos, avocados and rocks (there were geologist living here before, so we have plenty of rocks everywhere). He had fun arranging his natural stuff on a table. Wow! That reminded me of some natural tables I saw in many blogs and didn't pay attention to them at the time. Again, my son is more advanced than me; I better follow him.


Next day Ian found a water dispenser in the house (of the former tenants), carried it to his play zone and asked me for water. He seems to be more creative than his mom :-) then, I followed him and ran for bowls, glasses, jars and food coloring for more pouring activities.

I poured a bit of food coloring in the dispenser and Ian filled the dispenser after various trips.


When the dispenser was full, Ian filled a pitcher from it and poured the water into various glasses and jars.


And finally, he decided to sink all the things in the dispenser. I saw the opportuniy to talk about things that float and things that sink, but who knows if he was paying attention to my lesson :-)


Next day Ian had some practice filling a glass to a line (I used a rubber band to mark the line). It was easier using the dispenser than the pitcher. Actually the pitcher is a little big and Ian could hardly control his movements.


I know this house has made a great difference for Ian. He is always ready to go outside to play and, for now, that is the way he is learing more. Certainly, I love to see other toddlers in a classroom doing the activities by themselves (see The Work Plan) and I would like to think that Ian is willing to take formal lessons and work independently, but for now I am very happy to see him growing and becoming more independent.

I am sharing this post in One Hook Wonder where you can see other toddlers learning according the Montessori Method.

Wednesday, July 14, 2010

3-Minute Chocolate Cake in a Cup

Ian is enjoying cooking. Even when it is really a messy activity for him, I like it because it’s not only fun, but it's also an activity that teaches practical skills, introduces new sensorial experiences, vocabulary and mathematical concepts.

I’ve been looking for easy to make recipes and yesterday I found this “Chocolate Cake in a Cup” recipe. Ian is fan of chocolate so we tried out it.

I gathered all the necessary ingredients: flour, sugar, chocolate powder, milk, egg and vegetable oil. I also gathered all the cooking utensils, including measuring spoons, spatulas and mixing bowls. But I didn’t put all the ingredients within Ian reach at the beginning because surely he would have poured everything without following my instructions.

I always give Ian the ingredients measured, ready to pour and stir. But yesterday, I wanted him to measure at least the dry ingredients. First I gave him the flour bag and the measuring spoon. I hadn’t started explaining the measuring before he began to pour the flour directly from the bag. When I tried to stop him he got very angry and poured flour from the bowl.

It took me a couple of minutes and some tickles to convince Ian that it would be fun to follow my instructions. Here is a photo of us in the middle of the negotiation :-)


Well, Ian spooned the dry ingredients into a bowl, while I counted, and stirred them up. Then he learnt to hit the egg softly to break the shell and how to pour the egg. I measured the milk and oil and let him mix it. We stirred the dry ingredients separately from the wet ones in order to show Ian the difference of stirring wet and dry ingredients.
Then he mixed both and poured it into two cups. (I sprayed the mugs with cooking spray first.) Then into the microwave to bake for 3 minutes and enjoy!


You can get the recipe here.

Monday, July 12, 2010

Making activities out of things from around the house

It seems this journey is boosting my capacity to observe our environment (as well as Ian's interests and skill levels) and quicker catch opportunities to create fun/learning materials for Ian. Of course, it has been possible because I ‘ve been taking my time to read as much as I can about the Montessori Method and, in general, about teaching a toddler at home. I can remember that when I started doing homeschooling, everything looked very overwhelming for me. Now, after four months, I feel more comfortable and I have started to enjoy this journey.

Next are the activities I set up for Ian last week following him and taking advantage of the stuff we have at hand.

Screwing/unscrewing color sorter

This was Ian’s favorite activity last week and was set up completely following him. As soon as he saw the empty tempera tray, he wanted to unscrew each lid and then put them back in the container. That gave me an idea for a screwing/unscrewing and matching color activity. I put an object of the same color of the lid inside each bottle and let Ian to follow his interests. He unscrewed the lids, took off the objects, turned the lids with the top-side up, placed the objects into them matching the colors, returned the objects to the container and put the lids with the color corresponding to the objects. He just pushed down the lids. Actually, he is able to screw the lids of bigger jars, but when come down to small bottlenecks he just push down the lids.


Replacing marker caps

Lately, my material storage has been very messy. Last week, I decided to order a little and one of the things I found was markers. When Ian was about 18 months he loved scribbling with them (and also with color pens and crayons) but, since I read that markers do not contribute to building up the muscles in children hand (like using a pencil), I put away the markers.

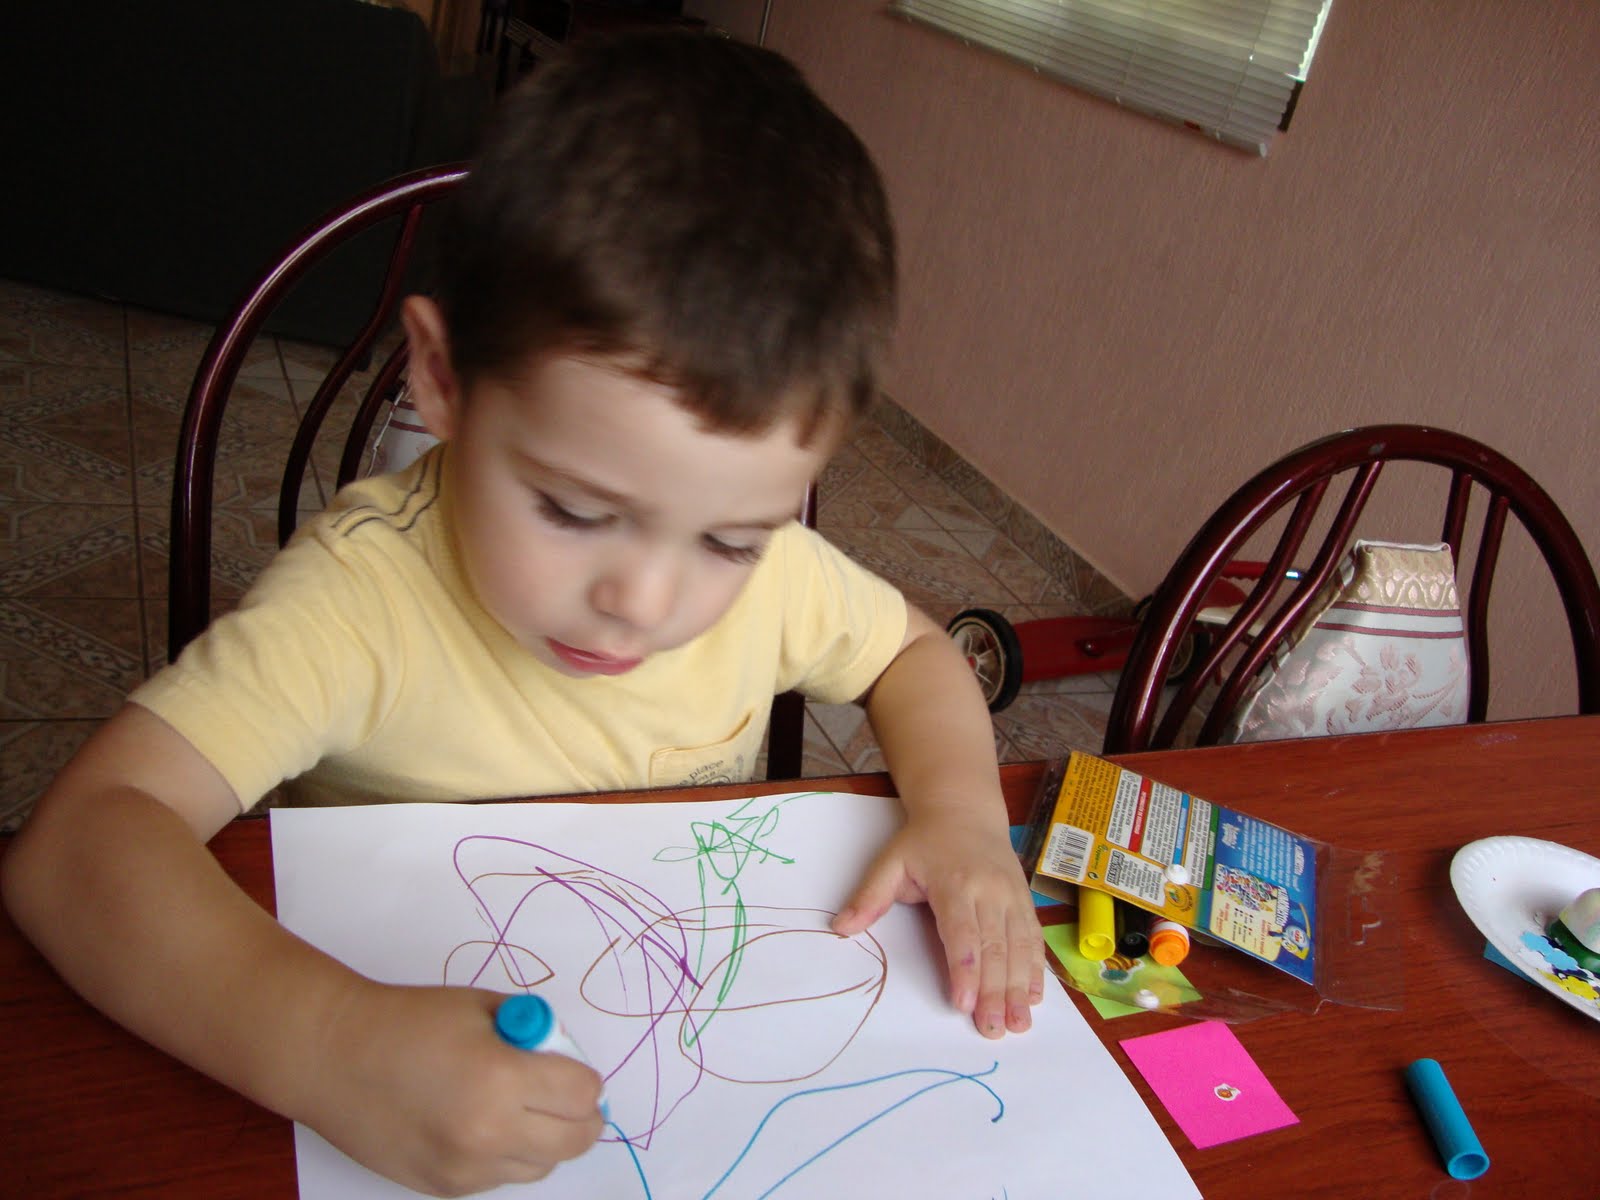
Ian is always attentive when I order his toys and materials, he seems to be looking for something interesting to do and, this time the markers captured his attention. As it has been a long time since he showed interest on scribbling, I let him to use them just to observe how much control Ian has over his hands muscles and if he moves the marker with a goal in mind. Well, he was able to take out the caps by himself; he grasped the marker properly (with thumb and fingers) and did mostly circular scribbles, that looks still like random scribbling.


When he finished, there were markers and caps all over the table, so I took advantage of it to teach him how to replace the caps, I told him to press the cap against the marker until he hears a “click” sound. He really enjoyed each time he heard the sound; it was his error control and the clue to celebrate his achievement. It was a sensorial exercise (visual and auditory) as well as a fine motor to strengthen the muscles of his hands.


Matching stickers silhouette

If you have been following us lately, you would know Ian is having fun with stickers. I usually peel the excess sticker paper from around the stickers before giving them to Ian. I was doing it  when I realized I can reuse this paper to create a silhouette worksheet for Ian to match the stickers. I stuck this paper on black construction paper, scanned and cut/pasted (digitally) the black silhouette in a worksheet. Probably it does not look that simple but fortunatelly I have some skills at the computer and can make that kind of things quickly. Certainly, when I got the idea I did not know if it will work but, the result was pretty good and even Ian needed a little help with the matching part, he enjoyed this activity very much.


Playdoh numbers, spatula and matching numbers

I insist, play doh is a versatile learning tool. You can create a great variety of activities for your kids using play doh. One of the things Ian has been learning with play doh lately is number recognition. I had printed number cards in order to show Ian how to model play doh snakes along the numbers. As he' not been paying attention to it, we used the cards to mach them numbers prints made on play doh. That waswhat we did. First, I put four number card in a tray provide Ian with the corresponding four foam numbers. Then I gave Ian play doh balls, he flattened them and pressed and lift-off a foam number and used the spatula to transfer and put on its corresponding number card. When he transferred the four numbers I rotate the cards and foam numbers. He likes transferring things with the spatula and this activity was not an exception. As you can see, I like to take the most of each activity to reinforce multiples skills.


Buttons sorting board

I want to remark that I am learning a lot from other blogger moms whom share their learning experiences not just their kids's. One of the things I've learned from they is to get inspiration from commercial toys to create homemade versions. This post was the one that showed me this alternative.

Well, last week I felt inspired for this toy and made a easier version using Styrofoam, tooth sticks (I cut the ends) and three sets of buttons (bears, cars and trees). I had not finished preparing it when Ian wanted to attempt it. By the way, before this activity I had tried to get Ian to sort these buttons but it lacked of interest for him. Now, even Ian struggled to place the buttons he sorted the buttons very well.


Matching vegetables and fruit silhouette

For this activity I download the printables from here. I previously tried to make matching activities in a floor mat, but as soon as I lie down the cards in the mat Ian runs away :-). As Ian has having fun playing with his “contact paper window board” :-) we used it for this activity. I rotate different set of cards each day. I cannot say Ian made the matching correctly because he sometimes did it and another times he stick the cards next to the wrong card, but he enjoyed calling out the names of the pictures and of course sticking and lifting out the cards.


I am sharing this post in One Hook Wonderwhere you can see other toddlers learning according the Montessori Method.

A pizza for Daddy

Daddy likes pizza, specially on Fridays, so, last Friday, I wanted Ian to surprise him preparing a pizza. This was the first time Ian participated that much preparing food. Even when he went away after finishing each step, he always came back for the next one.

He’s not mastered the use of the knife yet but did his best cutting the ham and the sausages and of course eating lot of the pieces :-)


He also helped spooning the olives from the jar. It was not easy as the jar neck was narrow, but he did not give up and got two olives that transferred to the tray where I was separating the ingredients. I did not have to point where to put them, he did it by himself.


He attempted to grate the cheese for first time. It seemed he liked it, so I will set up an activity to grate soap later.


Then he squeezed the baggies of tomato sauce all over the pizza dough and used a cheese knife (and his hands) to spread it. It was really a mess, there was tomato sauce everywhere including my camera.


Finally, he sprinkled the remaining ingredients over the sauce.


It was lots of fun!

Wednesday, July 7, 2010

Sensory Play with Goop

Corn starch goop was a big hit with Ian. It is very fun stuff, a great sensory experience. Corn starch mixed with water has wonderful and unique physical properties: this mixture will feel like liquid sometimes and sometimes it will feel solid.
First, Ian poured the dry corn starch into a tub and I let him feel the powder between his fingers.


After experimenting with the dry corn starch, he added water to it and mixed it with his bare hands. This created an impressive substance that Ian enjoyed touching and squeezing in his hands.


Next I added food coloring into the mixture and Ian mixed it with his hands. He liked watching how the colors swirled and blended in.


Then he decided to feel the texture with his bare feet. He had a lot of fun getting into and out of the tub. It was a great balancing exercise for him.

As Ian likes to make footprints on the floor every time he has wet feet, he attempted to run around the backyard but the goop was so slippery and we moved to the grass where he continued getting into and out of the tub until he fell and made me laugh :-) It got funnier because Ian loves to splash in puddles.


ut the fun was not finished yet. After that he poured clean water in the tub and sat there for a while and looked at his painted face in a mirror.


Soda Bottle Flower Prints

As soon as I saw this idea in Teaching Tiny Tots I knew I had found something Ian will engaged with: making flower print with soda bottles.

In order to adapt the art activity and set up an simpler one, we used 500 ml soda bottles and Ian just had to press the bottom of soda bottle into paint and print; otherwise he would had to use the bottom and then the caps of the bottles to make the petals and the center of the flower.


See how bright and joyful look the flower prints. So much fun!


You can find out more about the original idea here.

LinkWithin

Related Posts with Thumbnails