Next are the activities I set up for Ian last week following him and taking advantage of the stuff we have at hand.
Screwing/unscrewing color sorter
This was Ian’s favorite activity last week and was set up completely following him. As soon as he saw the empty tempera tray, he wanted to unscrew each lid and then put them back in the container. That gave me an idea for a screwing/unscrewing and matching color activity. I put an object of the same color of the lid inside each bottle and let Ian to follow his interests. He unscrewed the lids, took off the objects, turned the lids with the top-side up, placed the objects into them matching the colors, returned the objects to the container and put the lids with the color corresponding to the objects. He just pushed down the lids. Actually, he is able to screw the lids of bigger jars, but when come down to small bottlenecks he just push down the lids.


Replacing marker caps
Lately, my material storage has been very messy. Last week, I decided to order a little and one of the things I found was markers. When Ian was about 18 months he loved scribbling with them (and also with color pens and crayons) but, since I read that markers do not contribute to building up the muscles in children hand (like using a pencil), I put away the markers.
Ian is always attentive when I order his toys and materials, he seems to be looking for something interesting to do and, this time the markers captured his attention. As it has been a long time since he showed interest on scribbling, I let him to use them just to observe how much control Ian has over his hands muscles and if he moves the marker with a goal in mind. Well, he was able to take out the caps by himself; he grasped the marker properly (with thumb and fingers) and did mostly circular scribbles, that looks still like random scribbling.
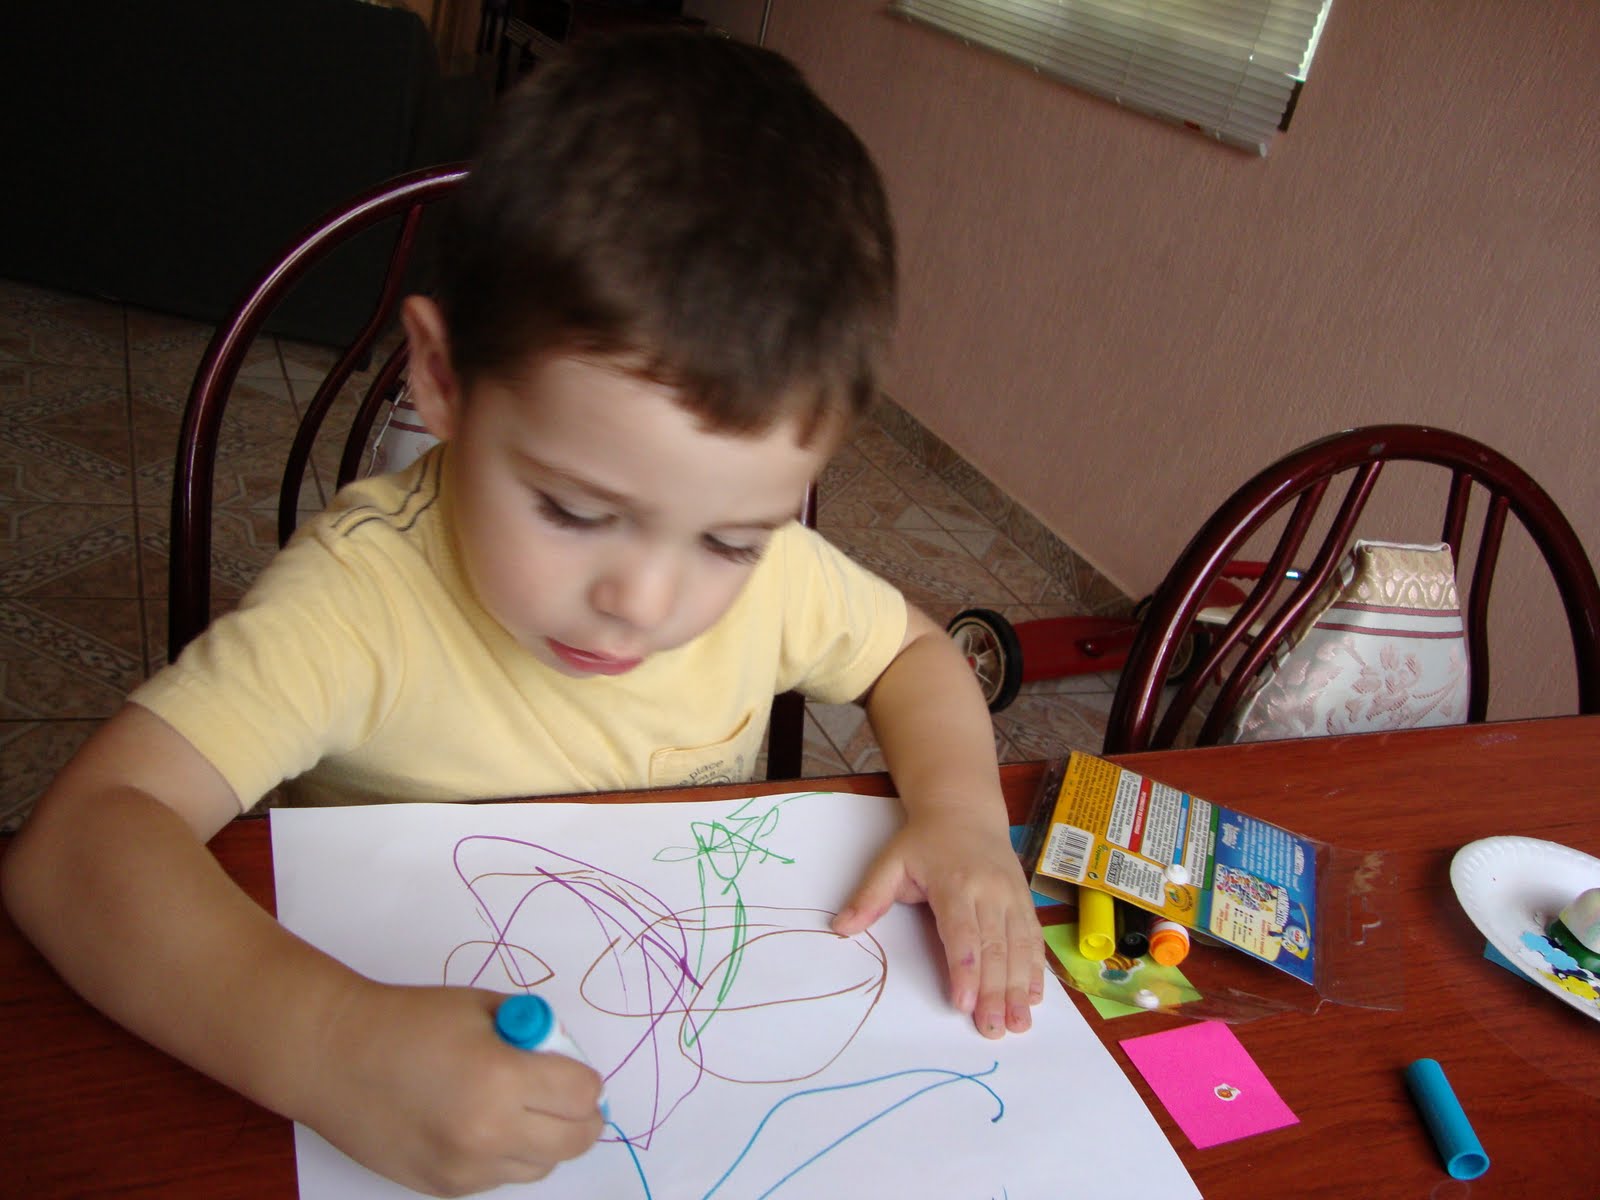
When he finished, there were markers and caps all over the table, so I took advantage of it to teach him how to replace the caps, I told him to press the cap against the marker until he hears a “click” sound. He really enjoyed each time he heard the sound; it was his error control and the clue to celebrate his achievement. It was a sensorial exercise (visual and auditory) as well as a fine motor to strengthen the muscles of his hands.

Matching stickers silhouette
If you have been following us lately, you would know Ian is having fun with stickers. I usually peel the excess sticker paper from around the stickers before giving them to Ian. I was doing it when I realized I can reuse this paper to create a silhouette worksheet for Ian to match the stickers. I stuck this paper on black construction paper, scanned and cut/pasted (digitally) the black silhouette in a worksheet. Probably it does not look that simple but fortunatelly I have some skills at the computer and can make that kind of things quickly. Certainly, when I got the idea I did not know if it will work but, the result was pretty good and even Ian needed a little help with the matching part, he enjoyed this activity very much.

Playdoh numbers, spatula and matching numbers
I insist, play doh is a versatile learning tool. You can create a great variety of activities for your kids using play doh. One of the things Ian has been learning with play doh lately is number recognition. I had printed number cards in order to show Ian how to model play doh snakes along the numbers. As he' not been paying attention to it, we used the cards to mach them numbers prints made on play doh. That waswhat we did. First, I put four number card in a tray provide Ian with the corresponding four foam numbers. Then I gave Ian play doh balls, he flattened them and pressed and lift-off a foam number and used the spatula to transfer and put on its corresponding number card. When he transferred the four numbers I rotate the cards and foam numbers. He likes transferring things with the spatula and this activity was not an exception. As you can see, I like to take the most of each activity to reinforce multiples skills.


Buttons sorting board
I want to remark that I am learning a lot from other blogger moms whom share their learning experiences not just their kids's. One of the things I've learned from they is to get inspiration from commercial toys to create homemade versions. This post was the one that showed me this alternative.
Well, last week I felt inspired for this toy


Matching vegetables and fruit silhouette
For this activity I download the printables from here. I previously tried to make matching activities in a floor mat, but as soon as I lie down the cards in the mat Ian runs away :-). As Ian has having fun playing with his “contact paper window board” :-) we used it for this activity. I rotate different set of cards each day. I cannot say Ian made the matching correctly because he sometimes did it and another times he stick the cards next to the wrong card, but he enjoyed calling out the names of the pictures and of course sticking and lifting out the cards.

I am sharing this post in One Hook Wonderwhere you can see other toddlers learning according the Montessori Method.
Very nice works. What I really like was the putting the marker caps back on. A true practical life experience,can't tell you how many markers I lost to the children not knowing this skill. Thanks for sharing.
ReplyDeleteGreat idea to use the tempera paint containers as a work to practice screwing and then unscrewing the lids! We will have to try that here, as my younger one like to do open and close containers work.
ReplyDeleteThe silhouette work is cool, too!
We are getting set to make some additional works that focus on light, shadow, color, and texture. I have set up a light table items swap in case you are interested, too...should be fun.
Well, have a nice week and hope that you will pop by my blog:)
Colleen
Awesome activities! =)
ReplyDeleteLove the make your own patterning idea!